Linkin
-
Posts
155 -
Joined
-
Last visited
-
Days Won
36


Linkin's Achievements
Advanced Member (3/3)
290
Reputation
-
 gmdoghunter reacted to a post in a topic:
Things You Should Know Before Fixing Your Computer
gmdoghunter reacted to a post in a topic:
Things You Should Know Before Fixing Your Computer
-
Garthesone reacted to a post in a topic:
How to Choose the Right RAM to Upgrade RAM of Windows PC?
-
Garthesone reacted to a post in a topic:
How to Choose the Right RAM to Upgrade RAM of Windows PC?
-
 FardahM reacted to a post in a topic:
Wise Download Manager
FardahM reacted to a post in a topic:
Wise Download Manager
-
 GoracV reacted to a post in a topic:
How to Deal with an Used & Old Computer?
GoracV reacted to a post in a topic:
How to Deal with an Used & Old Computer?
-
RidgeViz reacted to a post in a topic:
How to recover deleted files?
-
BrantMiG reacted to a post in a topic:
How to Hide Any Free Partition, File and Folder in Your Windows 7&8 PC?
-
 BrantMiG reacted to a post in a topic:
How to recover deleted files?
BrantMiG reacted to a post in a topic:
How to recover deleted files?
-
BrantMiG reacted to a post in a topic:
How to download YouTube Video For Free?
-
RidgeViz reacted to a post in a topic:
How To Create a System Restore Point Manually In Windows7& 8.1?
-

How to Optimize Your PC for Gaming
Linkin replied to Linkin's topic in WiseCleaner Advices & Suggestions
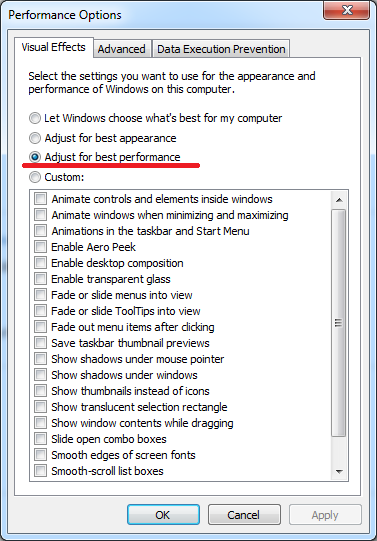
You can also Disable all animations and 3D effects for better performance. Windows XP, Windows Vista and Windows 7 & 8 offer animations for minimizing and maximizing windows and fading menus. However, if you’re a gamer, this can interfere with your experience, so you should turn them off. Right-click on “Computer,” and select “Properties.” You’ll find all of the animations settings under “Advanced\Performance\Settings.” Just choose 'Adjust for best performance'.
-
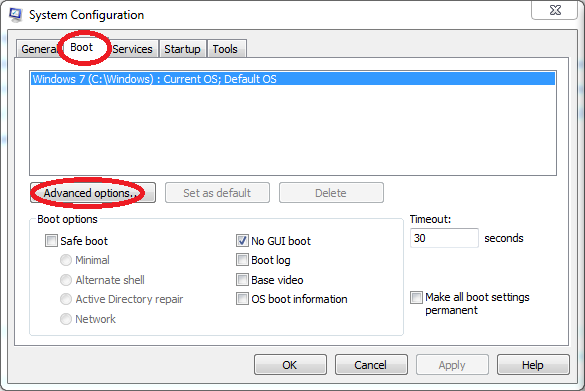
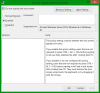
Some users may encounter this kind of problem: For example, you added a 2 GB DDR3 RAM to the windows 7 laptop which has only 2 GB of RAM( also DDR3 of course). After you properly installed the new RAM, you check the property of computer, it still shows you only have 2GB RAM instead of 4GB. Here is one solution: 1: Click Start menu, inside search field type msconfig and press Enter 2: Choose Boot tab 3: Click on the Advanced Options button 4: Once new window open check the field Maximum memory 5: To save your changes click OK and restart your computer Next time when you run your computer, from your desktop Right mouse click on My Computer and choose Properties. From here you can see whether your Windows 7 now uses maximum available RAM.

- 3 replies
-
- 1
-
-
- Windows PC
- choose the right ram
- (and 1 more)
-
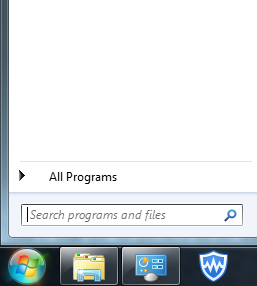
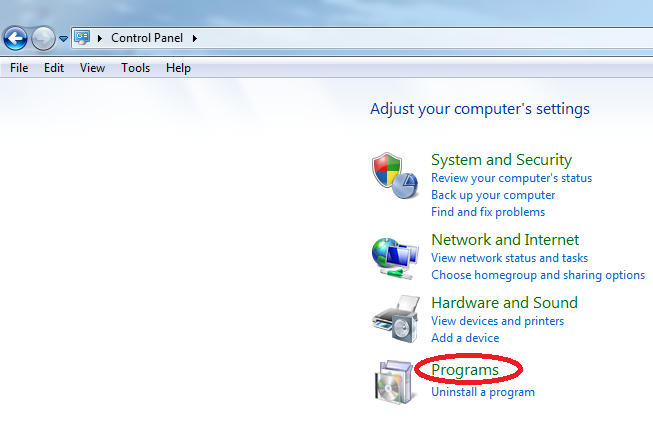
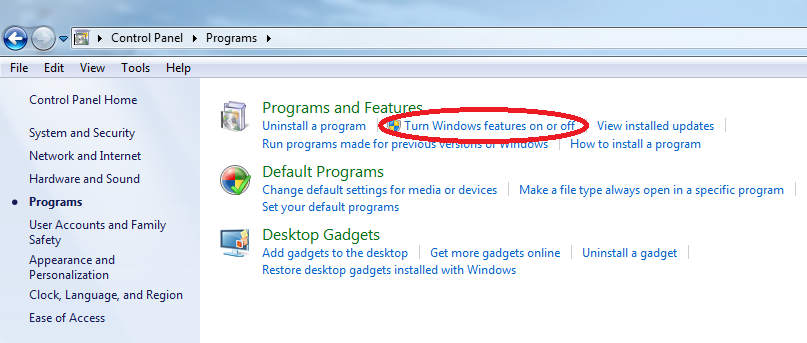
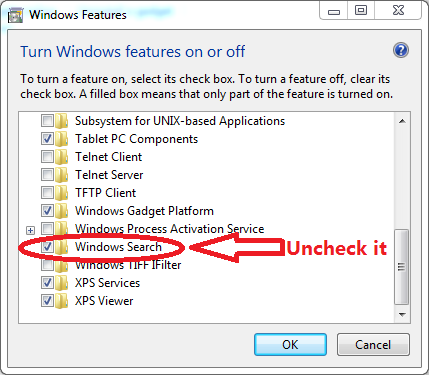
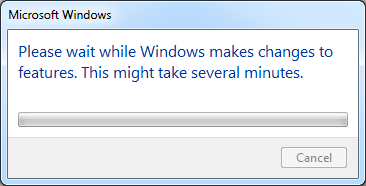
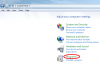
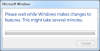
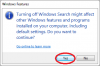
Windows Search in Windows 7 is turned on by default. If you are using other third party tools instead or you want to disable it because of security reasons, you can follow this tutorial. Before you actually read it, I have to warn you, if you disable Windows 7 search, you will see: 1. All the search boxes in Windows will disappear, including the search boxes in Windows Explorer, the Start menu, Control Panel, the Documents library, and other libraries. 2. Programs that rely on Windows Search might not function properly. 3. Internet Explorer won't have enhanced search capabilities. 4. Windows Media Center won't have enhanced search capability. 5. You'll no longer be able to arrange your library views by metadata, and your column headers will only sort items, not stack or group them. 6. Options that affect Windows Search functionality will be removed, including indexing in Control Panel and the Search tab in Folder Options. 7. Windows will no longer recognize these search-based file types: search-ms, searchconnector-ms, and osdx. 8. Pressing Windows Key+F to open a search window will give you this error. Follow the next easy steps to disable it: Step 1: Open Control Panel Step 2: Click Programs Step 3: Click on Turn Windows features on or off Step 4: From Windows Features window scroll down all the way to the bottom of the window and uncheck Windows Search Step 5: Click Yes to the message asking are you sure you want to continue and click OK to save changes Step 6: Wait for few seconds while Windows finish changes and then Restart your computer for changes take effect. Step 7: Next time when you login in Windows 7 you won’t see Search box in your Start menu.


- 1 reply
-
- 8
-
-
- windows search
- disable windows search
- (and 2 more)
-
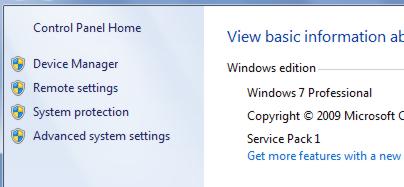
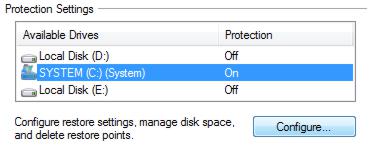
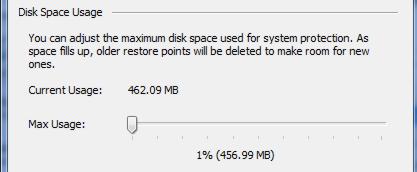
Step 1: Open Start menu, right mouse click on Computer and from context menu choose Properties Step 2: Control Panel window will open, form left side of the window click on System protection Step 3: When small window open choose System Protection tab and then from Protection settings select your local drive and click on Configure button Step 4: Under new window locate the section Disk space usage and scroll the slider down to lower percentage. Click OK to save your changes. If you restore point space is too low don’t worry because windows will delete older restore points and make more room for newest one Step 5: Now of you really need/want to reduce the space used by Restore Point you can also turn it off completely (I would not recommend it). To do that repeat Step 1, Step 2 and Step 3 Step 6: Then select Turn off system protection and click OK to save changes. Warning: If you decrease the disk space to be smaller than the space that is currently being used by system protection, older restore points, including previous versions of files, will be deleted.


-
- 7
-
-
Linkin reacted to a post in a topic:
Wise Download Manager
-
Wise Care 365 feature requests, suggestions, updated translations
Linkin replied to PWT1000's topic in Wise Care 365
Thank you so much for your advice, I have reported this to the tech team. -
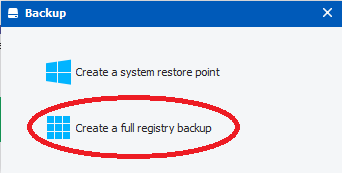
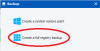
To ensure that your PC is free from errors, it is important for you to maintain a healthy registry. It is also a good idea to make regular registry backups with Wise Care 365 to ensure that if there is problem in the registry, you can restore it from a backup taken earlier. You must always back up your registry before: 1. Making any major system or network configuration changes on your PC. 2. Installing or uninstalling a large application. 3. Performing direct registry edit using Registry Editor (regedit). 4. Scanning and repairing the registry using a registry cleaner.
- 3 replies
-
- 1
-
-
- system restore
- restore point
- (and 2 more)
-
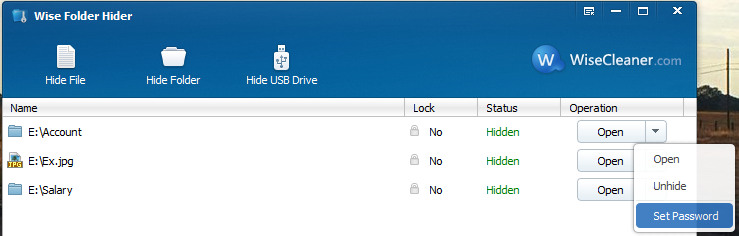
One more thing, you can also set a second password for each of the files or folders to make it double secure.

- 1 reply
-
- 1
-
-
- hide partition
- hide file
- (and 2 more)
-
How to download YouTube Video For Free?
Linkin replied to Linkin's topic in WiseCleaner Advices & Suggestions
- 14 replies
-
- 1
-
-
- download YouTube video
- wise video downloader
- (and 1 more)
-
How to download YouTube Video For Free?
Linkin replied to Linkin's topic in WiseCleaner Advices & Suggestions
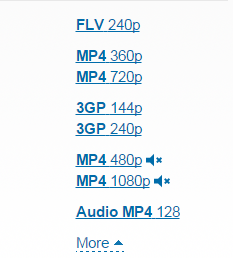
I found that the 1080P video I downloaded from YouTube is silent if I add ss after www.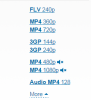
- 14 replies
-
- 1
-
-
- download YouTube video
- wise video downloader
- (and 1 more)
-
Tips! How To Fix the 404 Not Found Error:
Linkin replied to Config's topic in WiseCleaner Advices & Suggestions
Nice work! -
-
What Windows Services You Can Choose to Disable Safely?
Linkin replied to Linkin's topic in WiseCleaner Advices & Suggestions
-
Linkin reacted to a post in a topic:
How To Add Disk Cleanup Tool To Context Menu In Windows 8&8.1?
-
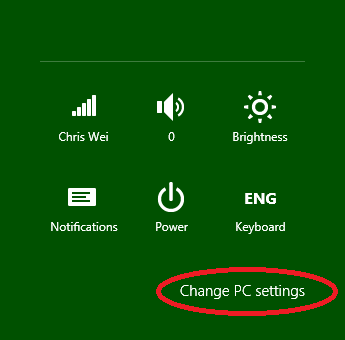
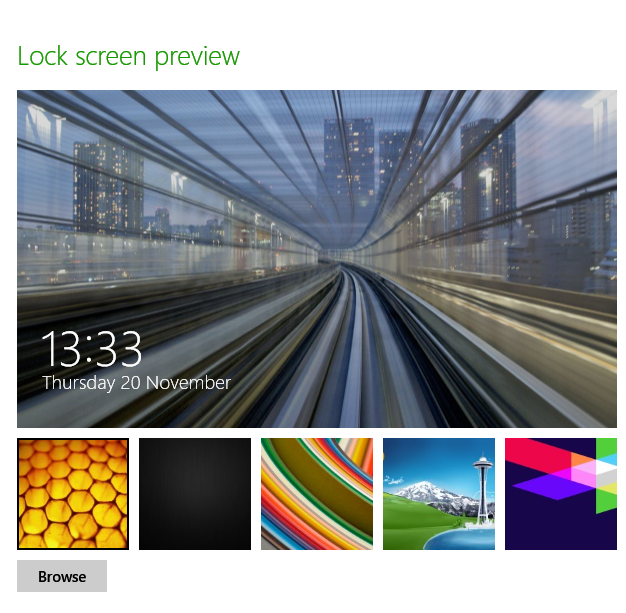
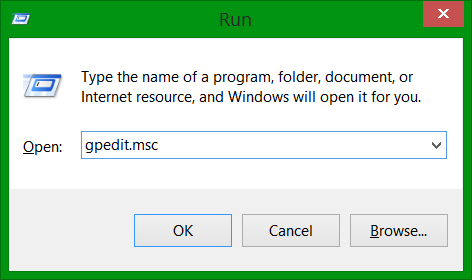
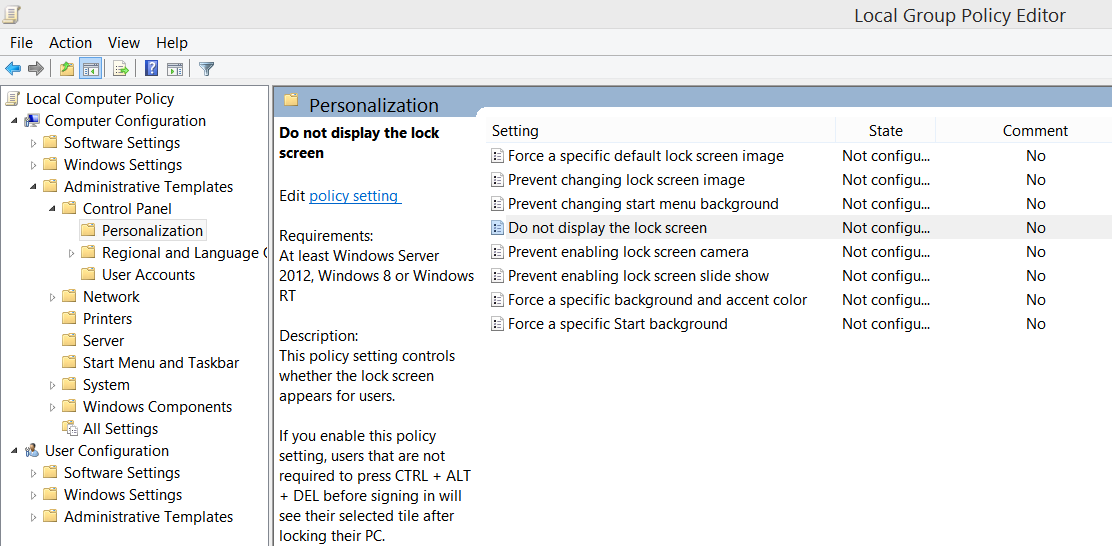
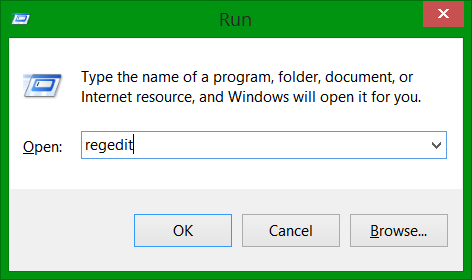
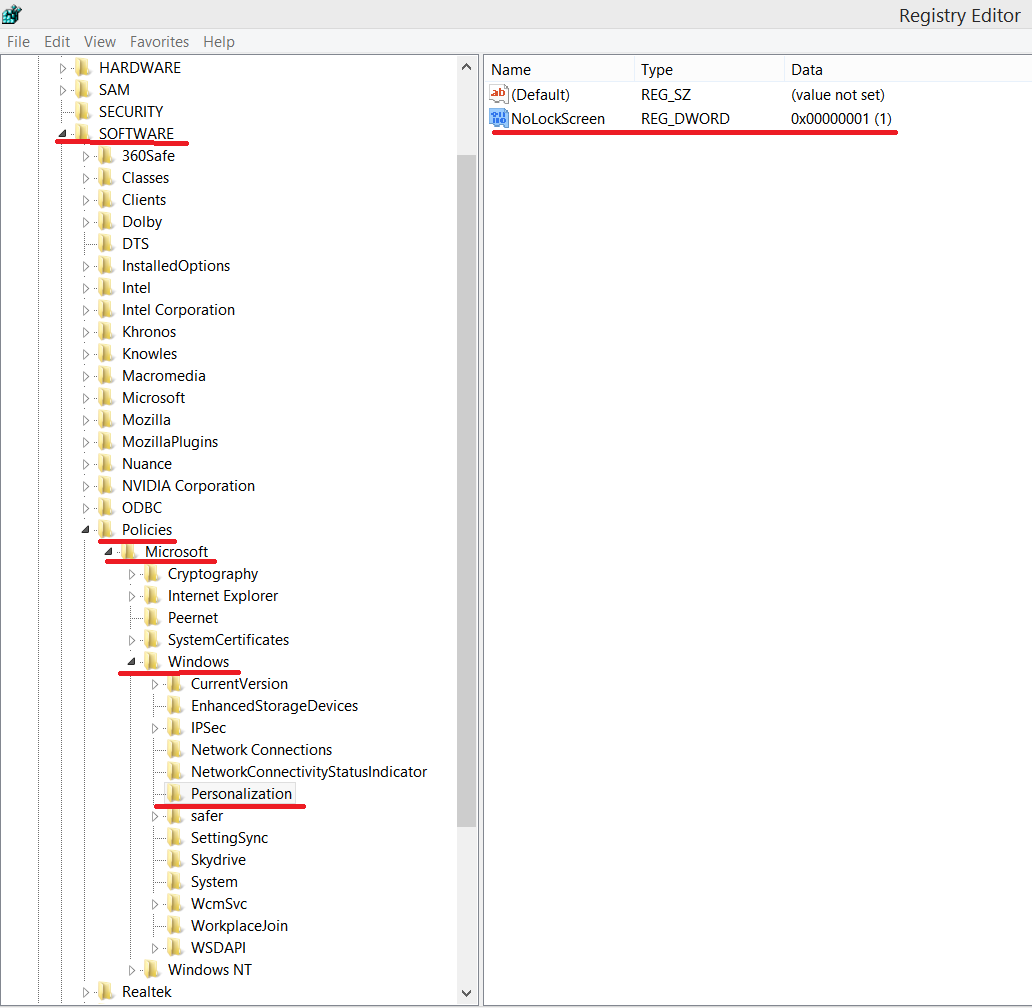
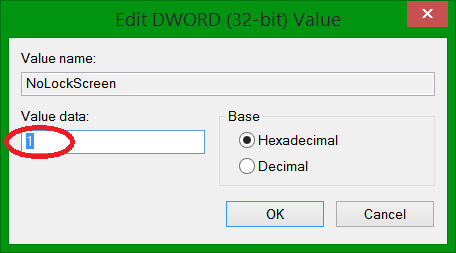
If seeing the same lock screen in your Windows 8.1 PC makes you pretty bored, or you don’t want to see the lock screen at all, you come to the right place. In this article I will show you how easily you can add any other background you like on your Lock screen or completely disable it. To change the lock screen, follow the next steps below Step 1: Bring up the Charm menu by pressing Win+C on your keyboard. Step 2: From Charm menu bottom right corner click on Settings. Step 3: Now from bottom right corner of your screen click on Change PC Settings. Step 4: Select Lock screen tab. Step 5: Click Browse button and then locate your new image which you want to use for your Lock Screen background and click Open. Step 6: If you wish to select a default or previously used image simply press on one of offered thumbnails located right above Browse button. If you just want to turn off the lock screen, one little tweak will do that, follow the next steps. Step 1: Press "WIN+R" key combination to launch RUN dialog box then type gpedit.msc and press Enter. It'll open Group Policy Editor. Step 2: Now go to: Computer Configuration -> Administrative Templates -> Control Panel -> Personalization Step 3: In right-side pane, double-click on "Do not display the lock screen" option and set its value to "Enabled". If your Windows 8.1 does not have Group Policy Editor, you can use the Registry Editor. 1. Press "WIN+R" key combination to launch RUN dialog box then type regedit and press Enter. It'll open Registry Editor. 2. Now go to following key: HKEY_LOCAL_MACHINE\SOFTWARE\Policies\Microsoft\Windows\Personalization If the above key doesn't exist, you'll need to create it manually. 3. Select Personalization key and in right-side pane, create a new DWORD NoLockScreen and set its value to 1 4. Reboot the computer and you will not see the lock screen any more.


-
- 7
-
-
- lock screen
- windows 8.1
- (and 2 more)